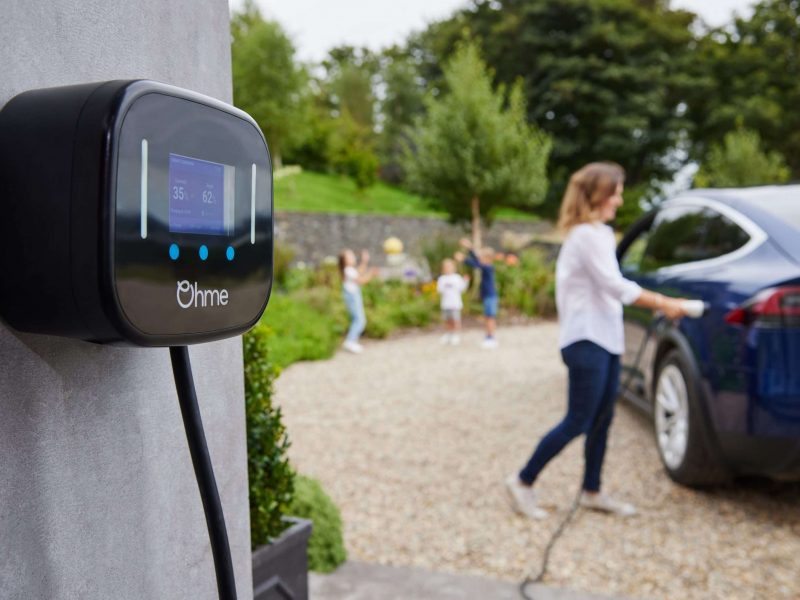
Electric vehicles (EVs) are becoming increasingly popular as more people realize the benefits of going green. However, to enjoy the benefits of an EV, you need to have a charging station at home. Installing an EV charger may seem daunting, but it is a straightforward process with the proper guidance.
Here is a simple outline of how to do it;
Determine The Type of Charger
The first step in EV charger installation is determining the type of charger you need. There are two types of chargers – Level 1 and Level 2. Level 1 chargers typically use a general household outlet and are suitable for charging throughout the night. Level 2 chargers must be connected to a dedicated circuit, providing faster charging times. Determine which type of charger is ideal for your EV and driving habits.
Choose a Location
The next step is to choose a location for the charger. The location should be convenient for you to park and charge your EV. The charger should be installed so that it will not be obstructed or pose a safety hazard. Additionally, you should consider the distance between the charger and your EV, as well as the location of your electrical panel.
Assess Electrical Capacity
An EV charger installation requires a dedicated circuit and may require electrical upgrades to your home. Assess your home’s electrical capacity to determine if upgrades are necessary. Hire an electrician to evaluate your electrical panel and make any necessary upgrades.
Obtain Necessary Permits
Before installing an EV charger, you must obtain the necessary permits from your local government. The permitting process may vary depending on location, so check with your local government for specific requirements.
Purchase and Install The Charger
Once you have determined the type of charger, and location, assessed electrical capacity, and obtained the necessary permits, it is time to purchase and install the charger. Hire a licensed electrician for the charger installation, as it requires knowledge of electrical wiring and safety protocols. The electrician will install the dedicated circuit, mount the charger, and connect it to the electrical panel.

Test The Charger
After installing the charger, it is time to test it to ensure it functions correctly. Plug in your EV and ensure that it is charging correctly. If there are any issues, contact your electrician to troubleshoot and fix the problem.
Maintain The Charger
EV chargers require regular maintenance to ensure that they are functioning correctly. Check the charger regularly for any signs of wear and tear, such as frayed cords or loose connections. It is also essential to keep the charger clean and debris-free.
Conclusion
EV charger installation may seem challenging, but it is a straightforward process with the right guidance. Determine the type of charger, choose a location, assess electrical capacity, obtain necessary permits, purchase and install the charger, test the charger, and maintain the charger regularly. Always hire a licensed electrician to install the charger and ensure it functions correctly. By following these steps, you can enjoy the benefits of owning an EV and charging it conveniently at home.


