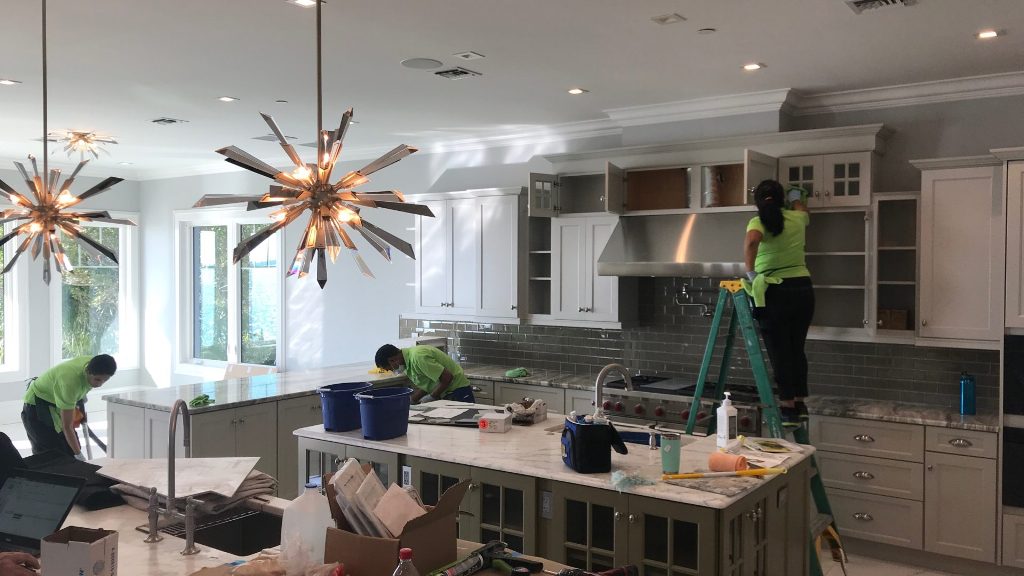
After finishing construction or renovations on any property – be it a home or an office – you may be tempted to move the furniture in straight away. But before you kick your feet up and relax, you need to do some post-construction cleaning. You don’t want your new home or office appearing old and tired because of leftover dust. So grab your protective mask and get ready to dive into these 11 tips for construction cleaning.
1. Tidy up large debris
Start by gathering all tools and leftover materials in one spot. Decide what you’re going to keep and what you want to throw away. If you’re getting rid of items, make sure you check the details on the back of paint cans and chemical containers. These items may require special care and need to be taken to a hazardous waste disposal centre.
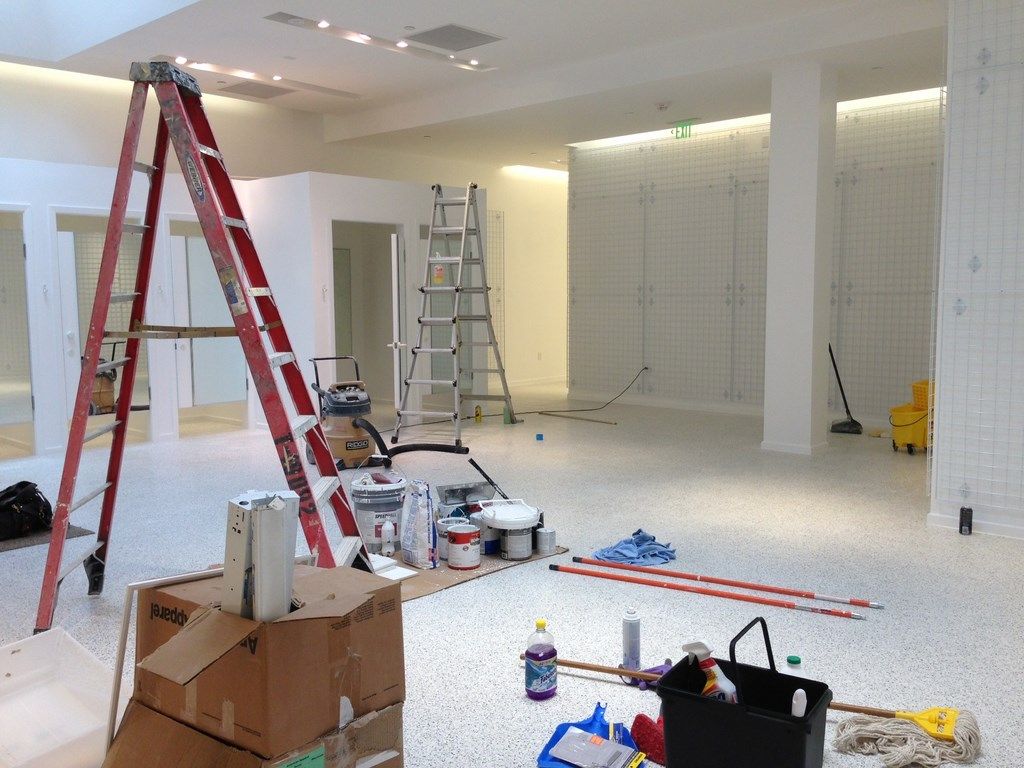
If you know you are going to have a large amount of waste, it may be worth renting a skip bin to dispose of large debris. You can usually find these from companies in your local area. They’ll do the hard work for you, placing the bin in your front yard and taking it away when you’re done.
2. Clean up small debris
Now that the big stuff is gone, it’s time to pay attention to the smaller pieces of rubbish, spills or marks that have been left behind. Clean up any leftover paint spillages on tiles, wood or carpet. Use a magnetic sweeper to remove any nails, bolts or metal shavings. Carefully remove broken glass using protective gloves.
3. Tackle the dust
The most common mess left behind after construction is dust. It can also be the most detrimental to your health, causing irritation to the eyes and coughing. Given this, it’s important to wear safety gear when dealing with dust. Consider putting on a dust mask and goggles to avoid getting any particles in your eyes.
4. Wipe down the walls
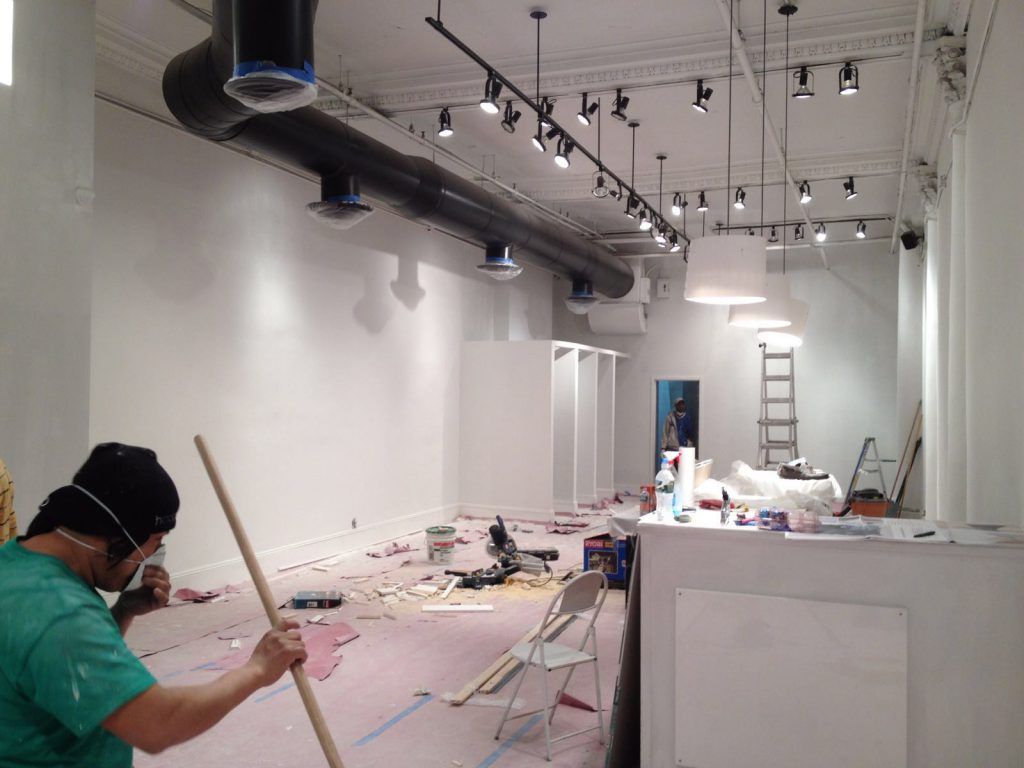
If the paint on the walls is brand new, a simple extended duster will do the trick. If the paint is a bit older, it may be well worth using an extended mop or wet rag to remove dust from the walls. Always take into account the paint manufacturer before using any moisture, and test a small area before proceeding. Make sure you pay close attention to the ceiling and any nooks that may have gathered dust.
5. Clean lighting fixtures and fans
Grab a cloth and wipe down ceiling fan blades and lighting fixtures. You may need to remove lighting fixtures to properly clean them. If you have glass fixtures, use a little bit of glass cleaner to get them shining.
6. Wipe down air vents
You simply cannot afford to overlook cleaning the air vents, as they can house a lot of dust that can cause respiratory issues. If the air vents weren’t covered during the construction process, pay close attention to them now. Unscrew the vents and use a damp rag to wipe them down on both sides. If they’re filled with dust, use some warm soapy water to clean them thoroughly.
7. Clean exposed surfaces
Use a damp cloth to wipe down any other exposed surfaces like kitchen benches, sinks, shelving and inside cupboards. If there is a lot of dust build up, use a gentle cleaner.
9. Vacuum the room
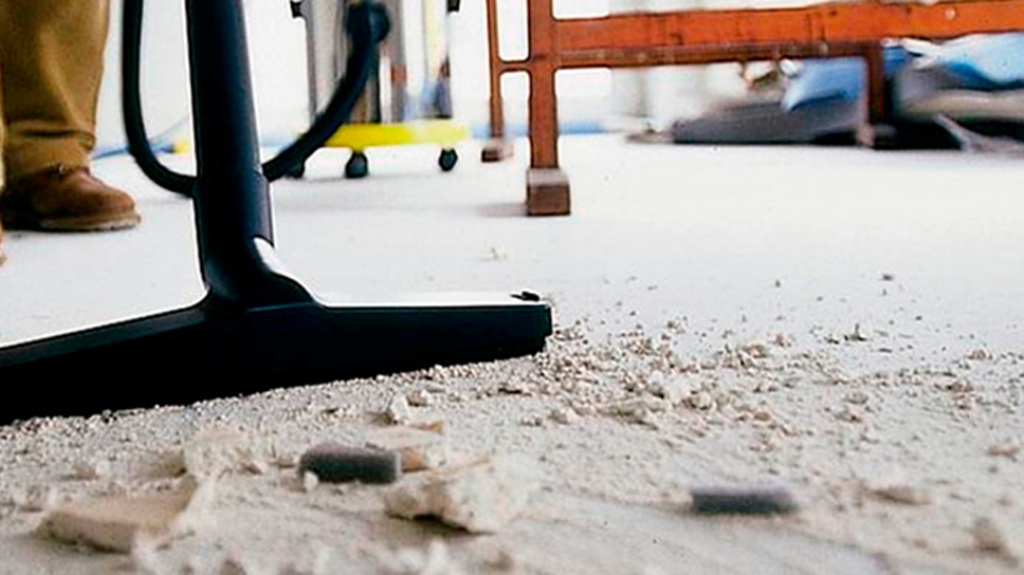
Vacuum, vacuum and vacuum again! You’re going to need to go over the carpets, tiles and wooden floors over and over again until every speck of dust is gone. If any furniture was left in the space during construction, use an upholstery attachment to go over every inch of furniture. Get underneath the couch pillows to remove any unwanted nasties that have settled in out of sight.
10. Mop hard floors
Once you’ve removed all of the dust, go over the floor with a mop. You may need to mop a couple of times to make sure the area is nice and clean.
11.
Pay attention to the little things

Don’t forget any other items that may have been left in the space during construction. This could include decorative items, appliances and more.
Construction cleaning is no small feat but it’s well worth doing a thorough job to remove all dust and grime so you can move into your new home or office with the peace of mind that it is sparkling clean.
